12 Small Shower Storage Ideas That Cut Clutter Fast
Limited space forces better decisions, especially in a shower where every inch gets used daily. Most clutter issues don’t come from having too much stuff—they come from storing it badly.
I’ve seen tiny showers feel calm and functional just by changing where things sit. The difference isn’t dramatic decor, it’s smart placement.
Once you stop stacking random bottles on the floor, everything starts working better. You reach things faster, clean easier, and honestly, the whole shower feels less chaotic. Let’s fix that without overcomplicating it.
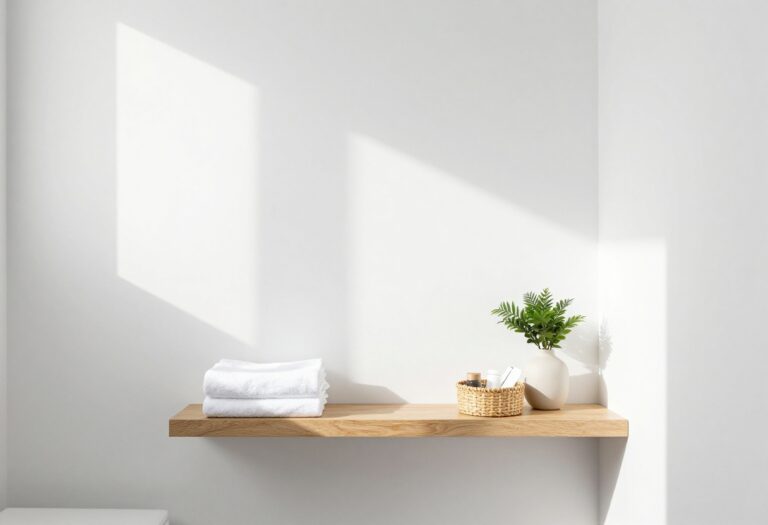
1. Install a Corner Shower Shelf That Actually Fits
Corners usually end up wasted or awkwardly used, which is frustrating in a small shower. Most people either ignore them or shove a bulky rack that sticks out too much. A properly sized corner shelf solves that without taking over your space. I’ve swapped oversized racks for slim corner shelves before, and the difference felt immediate.
Why This Works
Corners naturally stay out of your movement path, so storage there doesn’t feel intrusive. It keeps items accessible without crowding your main standing area. That balance is what makes small showers feel usable instead of cramped.
How to Do It
- Measure your corner before buying anything
- Choose a shelf with a low-profile edge
- Mount it at chest or waist height
- Use waterproof adhesive if drilling isn’t an option
Each step ensures you don’t end up with something bulky or poorly placed.
Style & Design Tips
Stick with neutral finishes like matte black or brushed metal to keep things clean-looking. Avoid overly shiny plastic shelves because they tend to look cheap fast. Keep the number of items limited so the shelf doesn’t become clutter again.
Pro Tip or Budget Hack
Look for adhesive corner shelves instead of built-ins. They’re cheaper, renter-friendly, and surprisingly sturdy if installed properly.
2. Use a Hanging Shower Caddy With Adjustable Hooks
Shower caddies get a bad reputation because most people buy the wrong type. The fixed ones either swing too much or don’t fit properly around the showerhead. An adjustable hook caddy fixes that issue by staying stable and customizable. I switched to one after dealing with a wobbly caddy, and I wish I had done it sooner.
Why This Works
It uses vertical space instead of floor space, which is critical in small showers. Adjustable hooks let you organize items based on size instead of forcing everything into one layout. That flexibility keeps things from piling up.
How to Do It
- Choose a rust-resistant metal caddy
- Adjust the hook height before loading items
- Place heavier bottles on lower tiers
- Use side hooks for loofahs or razors
Setting it up correctly prevents tipping and keeps it balanced.
Style & Design Tips
Go for minimal wire designs instead of bulky plastic trays. They drain water better and don’t collect soap residue as easily. Keep the top tier lighter so the whole setup feels visually balanced.
Pro Tip or Budget Hack
Add small S-hooks to create extra hanging space. It’s a simple trick that instantly expands storage without buying a bigger caddy.
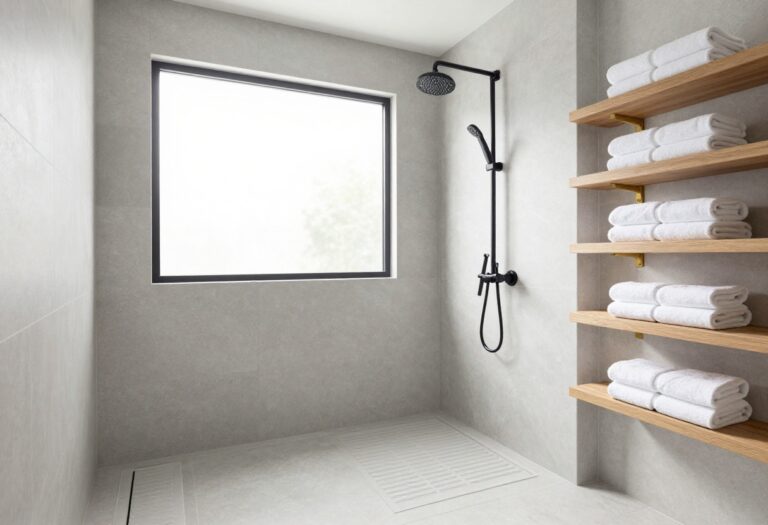
3. Add Built-In Shower Niches for Seamless Storage
If you’re renovating or even doing a small upgrade, niches are worth considering. They eliminate the need for extra storage pieces entirely. I’ve seen showers go from cluttered to hotel-level clean just by adding one or two niches.
Why This Works
Niches sit flush with the wall, so they don’t take up physical space. That means you get storage without losing movement room. It’s one of the most efficient storage solutions you can use.
How to Do It
- Plan niche placement before tiling
- Choose a height that’s easy to reach
- Add a slight slope for drainage
- Use waterproof materials during installation
Each step ensures durability and usability.
Style & Design Tips
Use contrasting tiles inside the niche to make it look intentional. Avoid placing too many items inside, or it defeats the clean look. Keep bottles aligned for a tidy finish.
Pro Tip or Budget Hack
If a full renovation isn’t possible, use a faux recessed shelf unit. It mimics the look without major construction.
4. Install Over-the-Door Shower Storage
The back of the shower door is one of the most ignored spaces. Most people leave it empty while struggling with crowded shelves. A slim over-the-door rack solves that instantly. I’ve used this in smaller bathrooms, and it feels like adding hidden storage.
Why This Works
It uses space that doesn’t interfere with your movement. Since it’s behind you, it doesn’t visually clutter the shower area. That keeps everything feeling open while still functional.
How to Do It
- Choose a rack designed for your door thickness
- Secure it properly to avoid slipping
- Store lighter items to prevent strain
- Keep frequently used items at eye level
These steps keep the setup stable and easy to use.
Style & Design Tips
Pick a sleek metal finish that matches your fixtures. Avoid bulky plastic designs that can make the door feel heavy. Keep items organized so it doesn’t look messy when you open the door.
Pro Tip or Budget Hack
Use this space for backup products instead of daily ones. It reduces clutter on your main shelves.
5. Use Stackable Shower Bins for Flexible Storage
Stackable bins are underrated in showers. Most people assume they’re only for cabinets, but they work surprisingly well in wet spaces too. I started using them when I needed separate zones for different products, and it made everything easier to manage.
Why This Works
They create layers of storage without permanent installation. You can rearrange them anytime, which is perfect if your needs change. That flexibility keeps your setup from becoming frustrating over time.
How to Do It
- Choose waterproof, non-slip bins
- Stack no more than two layers high
- Group similar items together
- Place heavier items at the bottom
This keeps everything stable and easy to access.
Style & Design Tips
Go for clear or lightly tinted bins to avoid a heavy look. Keep labels minimal so it doesn’t feel over-organized. Make sure spacing between bins feels intentional, not cramped.
Pro Tip or Budget Hack
Use small kitchen organizers instead of shower-specific bins. They’re often cheaper and just as effective.
6. Install a Tension Pole Shower Organizer
Tension poles might sound old-school, but they’ve improved a lot. Modern designs look cleaner and hold more weight. I tried one in a tight corner once, and it turned wasted vertical space into usable storage.
Why This Works
It uses vertical height instead of horizontal space. That means you get multiple shelves without crowding your floor area. It’s one of the best solutions for very small showers.
How to Do It
- Adjust the pole height to fit your ceiling
- Place it in a corner for stability
- Distribute weight evenly across shelves
- Secure it tightly to prevent slipping
Proper setup makes a huge difference in stability.
Style & Design Tips
Choose neutral tones or metallic finishes to keep it from standing out too much. Avoid overloading shelves, which can make it look cluttered. Keep spacing even for a balanced look.
Pro Tip or Budget Hack
Look for models with adjustable shelves so you can customize spacing based on your products.
7. Use Magnetic Storage for Metal Fixtures
If your shower has metal surfaces, you’re sitting on unused storage potential. Magnetic holders can stick to fixtures and hold small items securely. I was skeptical at first, but they’re surprisingly strong and practical.
Why This Works
It adds storage without installing anything permanent. You can move items around easily, which keeps your setup flexible. That’s perfect for small spaces where every change matters.
How to Do It
- Check if your fixtures are magnetic
- Use waterproof magnetic holders
- Store lightweight items only
- Position them within easy reach
This keeps everything safe and functional.
Style & Design Tips
Stick with simple, compact designs so they don’t look bulky. Avoid overcrowding one area with multiple magnets. Keep spacing clean for a minimal look.
Pro Tip or Budget Hack
Use magnetic soap holders to keep bars dry and off surfaces. It reduces mess and extends the life of the soap.
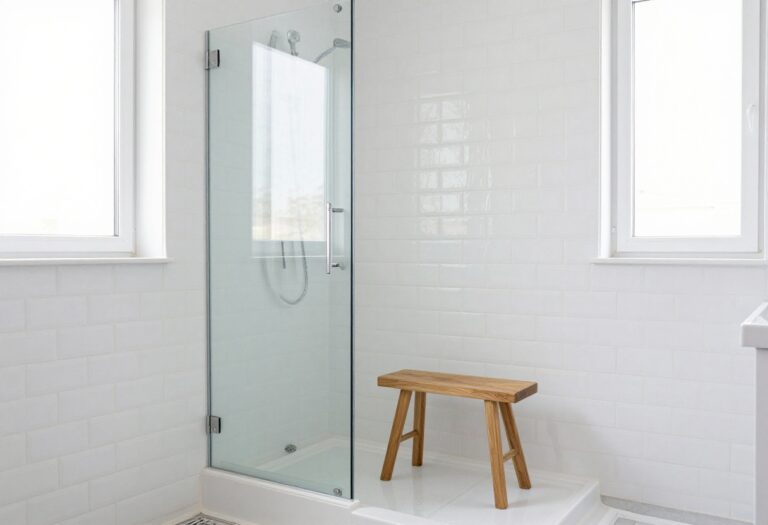
8. Add a Shower Bench With Hidden Storage
A shower bench isn’t just for comfort. Some designs include hidden compartments that double as storage. I’ve seen this work really well in slightly larger showers where floor space allows it.
Why This Works
It combines seating and storage in one piece. That dual function makes it more efficient than adding separate storage units. It also keeps items tucked away, reducing visible clutter.
How to Do It
- Choose a waterproof bench with storage
- Place it where it doesn’t block movement
- Store less-used items inside
- Keep the top surface clear
This keeps the setup practical and tidy.
Style & Design Tips
Go for wood-look or stone finishes to keep it stylish. Avoid overly bulky benches that take over the space. Keep the design simple for a clean look.
Pro Tip or Budget Hack
Use a hollow plastic stool with a removable top as a budget-friendly alternative.
9. Install Adhesive Hooks for Small Essentials
Hooks might seem too simple to matter, but they make a big difference. I’ve used them for razors, loofahs, and even small baskets. They keep items off shelves and within easy reach.
Why This Works
They free up shelf space without adding bulk. Since they stick to walls, they don’t interfere with your movement. That makes them ideal for tight spaces.
How to Do It
- Clean the surface before applying
- Use waterproof adhesive hooks
- Space them evenly
- Avoid overloading each hook
Proper placement ensures durability.
Style & Design Tips
Choose matching hook finishes for a cohesive look. Avoid placing too many in one area, which can feel cluttered. Keep spacing consistent for a clean layout.
Pro Tip or Budget Hack
Use clear hooks if you want them to blend in completely. They’re almost invisible but still functional.
10. Use a Slim Rolling Cart Outside the Shower
Sometimes the best storage solution isn’t inside the shower at all. A slim rolling cart placed just outside can hold extra products. I’ve used this setup in small bathrooms, and it keeps the shower itself clutter-free.
Why This Works
It removes non-essential items from the shower space. That instantly reduces clutter and makes daily use easier. It also gives you more storage without overcrowding.
How to Do It
- Choose a narrow cart that fits your space
- Store backup items on lower shelves
- Keep daily items on the top shelf
- Roll it away when not in use
This keeps everything organized and accessible.
Style & Design Tips
Pick a lightweight design with open shelves for an airy feel. Avoid bulky carts that take up too much space. Keep items neatly arranged to avoid visual clutter.
Pro Tip or Budget Hack
Use a basic kitchen cart instead of a bathroom-specific one. It’s usually cheaper and just as effective.
11. Install a Shower Curtain With Built-In Pockets
Shower curtains with pockets might sound gimmicky, but they actually work. I’ve seen them hold everything from shampoo bottles to small accessories. It’s a simple way to add storage without installing anything.
Why This Works
It uses vertical space along the curtain, which usually goes unused. That keeps items accessible without adding shelves or racks. It’s especially useful in very small showers.
How to Do It
- Choose a durable, waterproof curtain
- Distribute weight evenly across pockets
- Store lighter items only
- Keep frequently used items at eye level
This prevents sagging and keeps things organized.
Style & Design Tips
Go for neutral or patterned designs that match your bathroom. Avoid overfilling pockets, which can make the curtain look heavy. Keep items evenly spaced for a balanced look.
Pro Tip or Budget Hack
Use this for travel-sized products or backup items. It keeps your main storage areas clear.
12. Declutter and Limit What Stays Inside
No storage solution works if you keep too many things in the shower. I learned this the hard way after trying every organizer possible. Once I reduced what stayed inside, everything started working better.
Why This Works
Fewer items mean less visual and physical clutter. It makes cleaning easier and improves overall usability. Sometimes the best fix isn’t adding storage—it’s removing excess.
How to Do It
- Remove rarely used products
- Keep only daily essentials inside
- Store extras outside the shower
- Reassess items every few weeks
This keeps clutter from building up again.
Style & Design Tips
Stick to matching or coordinated bottles for a cleaner look. Avoid mixing too many colors or sizes. Keep everything aligned for a simple, tidy appearance.
Pro Tip or Budget Hack
Refill products into uniform containers. It instantly makes your shower look more organized without spending much.
Final Thoughts
Small showers don’t need more space, they need better decisions. Once you start using space intentionally, everything feels easier to manage. It’s less about adding and more about choosing what actually belongs there.
I’ve tried most of these over time, and honestly, even one or two changes can shift the whole feel of your shower. Start simple, adjust as you go, and don’t overthink it.