
15 Pottery Barn Bedroom Ideas on a Budget
Pottery Barn bedrooms look effortless, but the price tags are anything but. You don't need to spend a fortune to get that warm, layered, lived-in feel. With a few smart swaps and some DIY elbow grease, you can fake the look for a fraction of the cost.
The trick is knowing where to splurge and where to save. Focus on texture, lighting, and a neutral palette, and the rest falls into place.
Thrift stores, discount retailers, and your own craft stash can do a lot of heavy lifting. These 15 ideas break down the exact pieces that make a Pottery Barn room feel special.
1. Score a Vintage-Style Nightstand for Under $50
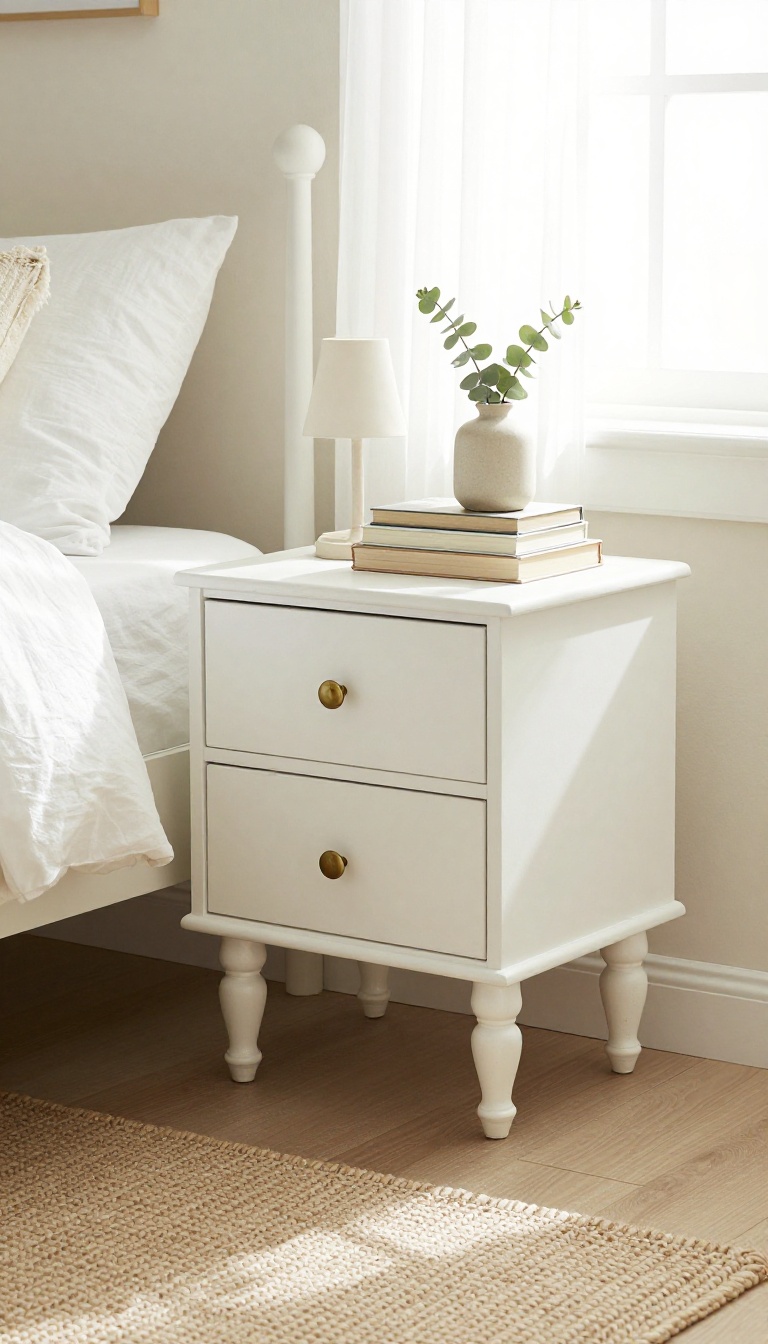
A great nightstand sets the tone for the whole bedroom. Pottery Barn's versions often cost $300 or more, but you can find a similar look for a fraction of that price. The secret is hunting for solid wood pieces at thrift stores, garage sales, or Facebook Marketplace, then giving them a quick makeover.
Start by searching for nightstands with classic lines—think turned legs, dovetail drawers, or simple rectangular shapes. Avoid particleboard and flimsy construction; solid wood is what gives that high-end feel. Once you find a candidate, check for structural damage like wobbly legs or broken drawers.
Minor scratches and outdated finishes are easy fixes.
Where To Hunt
Thrift stores like Goodwill and Salvation Army often have hidden gems for $10–$30. Estate sales and Facebook Marketplace are goldmines for solid wood pieces under $50. Set alerts for keywords like 'vintage nightstand' or 'wood side table' and check regularly.
Don't overlook curb alerts or Buy Nothing groups—free is even better.
Diy Makeover
Give your find a thorough cleaning, then sand lightly to roughen the surface. Paint it in a neutral shade like warm white, greige, or soft black to match Pottery Barn's palette. For a stained look, use a gel stain in walnut or espresso.
Seal with a matte polycrylic for durability.
Hardware Swap
New hardware instantly upgrades the piece. Look for antique brass or oil-rubbed bronze knobs and pulls online or at hardware stores. You can often find affordable options at Hobby Lobby or Amazon.
Measure the existing holes first to ensure a proper fit, or fill and drill new ones if needed.
2. DIY a Chunky Knit Throw Blanket
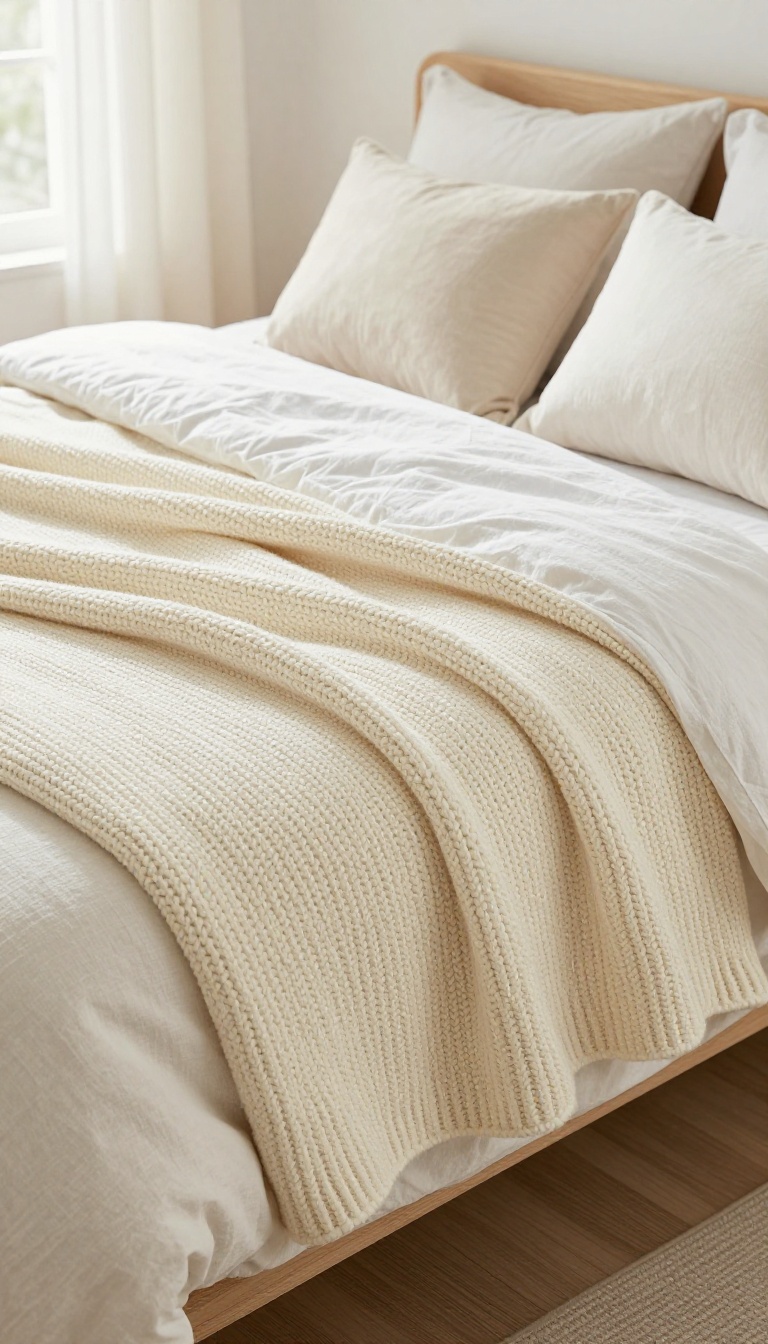
A chunky knit throw instantly makes a bed look cozier, and Pottery Barn sells plenty of them for well over $100. You can make your own for about $30 using thick yarn and a technique called arm knitting. No needles required, and the whole thing takes an afternoon.
Arm knitting is exactly what it sounds like: you use your arms as the needles. The result is a loose, oversized blanket with that soft, handmade look that fits right in with Pottery Barn's layered bedding. It's forgiving, too.
Even if your stitches aren't perfect, the chunky texture hides small mistakes.
What You'll Need
Pick up 6 to 8 skeins of super bulky yarn (size 6 or 7). Chenille or merino wool blends feel the most luxurious, but acrylic works fine on a budget. You'll also want a large crochet hook or just your hands, plus scissors.
How To Arm Knit
Cast on by making a slip knot and looping yarn over your wrist. Then knit by pulling loops through each other, transferring stitches from one arm to the other. Keep the tension loose.
Bind off when you reach your desired length, usually about 50 by 60 inches.
Styling It Like Pottery Barn
Drape the throw across the foot of your bed at an angle. Fold it in half first for extra volume. Pair it with neutral bedding and a few textured pillows to nail that relaxed, layered look.
3. Create a Faux Linen Headboard with a Drop Cloth
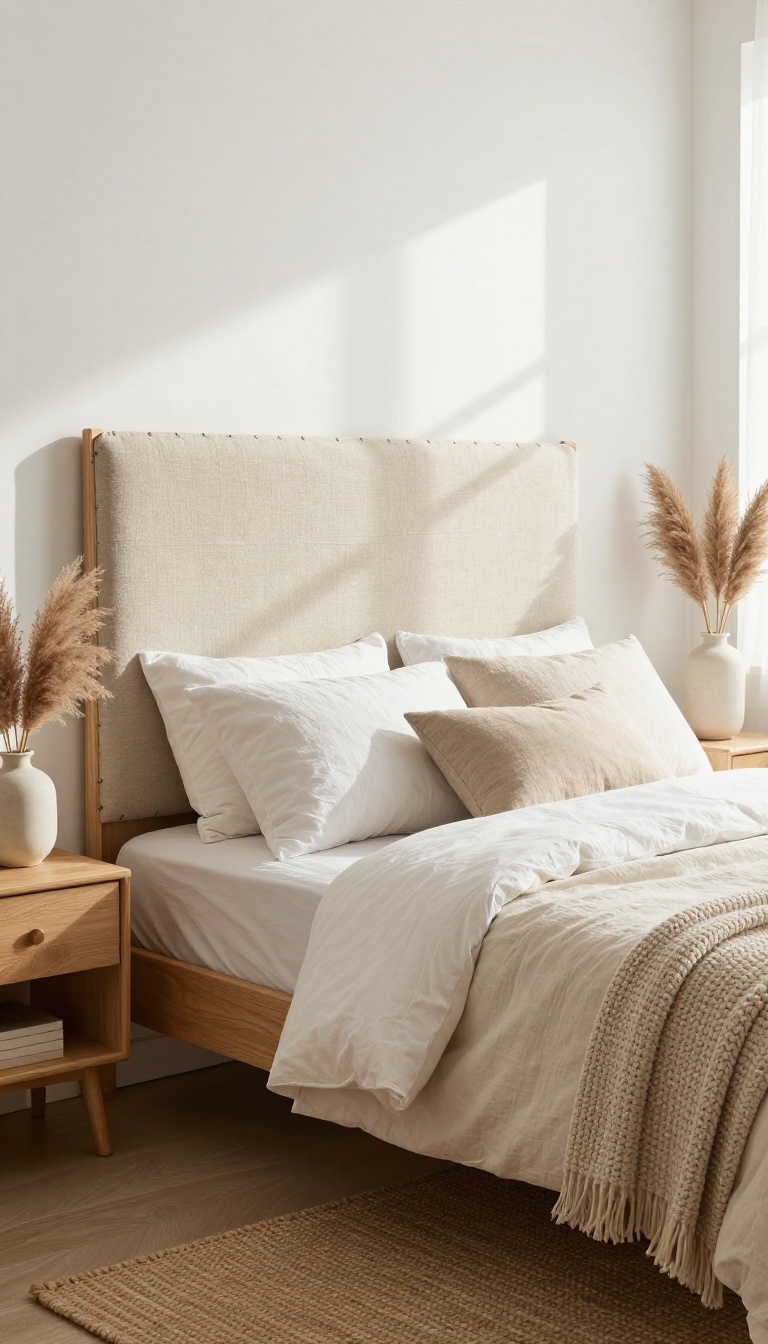
A canvas drop cloth from the hardware store can pass for linen upholstery once it's stretched over batting and stapled to a frame. The texture reads expensive, but the whole project usually costs less than $60. You get a custom-sized headboard that looks like a Pottery Barn staple without the custom price tag.
Start by measuring your bed width and deciding on a height. A good rule of thumb is 26 to 30 inches tall for a queen, but you can go taller if your ceiling allows. Cut a piece of 1/2-inch plywood to those dimensions.
Sand the edges smooth so they don't snag the fabric later. Next, lay your drop cloth out flat and iron it. Wrinkles will show through once it's stretched, so this step matters.
Cut the cloth at least 6 inches larger than the plywood on all sides. Then cut a piece of batting the same size as the plywood, plus a couple of inches of overhang. Now it's time to assemble.
Spray adhesive on the plywood, then press the batting down, smoothing out any lumps. Center the drop cloth over the batting and flip the whole thing face-down. Starting at the middle of each side, pull the fabric tight and staple it to the back of the plywood.
Work your way toward the corners, folding them neatly like a present. Trim any excess fabric. Finally, mount the headboard to the wall using heavy-duty D-rings and a French cleat, or attach legs if you prefer a freestanding look.
Fluff your pillows and step back. It's amazing how much that simple canvas texture warms up the room.
What You'll Need
A 6×9-foot canvas drop cloth runs about $12 to $15 at most hardware stores. You'll also need a piece of 1/2-inch plywood cut to size, a bag of quilt batting, a staple gun with 3/8-inch staples, and heavy-duty D-rings or a French cleat kit. Spray adhesive helps keep the batting in place.
Total cost: usually under $60, especially if you already own a staple gun.
Tips For A Professional Finish
Wash and dry the drop cloth first to soften it and pre-shrink it. Iron it while slightly damp for a crisp look. Pull the fabric firmly as you staple, but don't stretch it so tight that it distorts the weave.
For a softer, more linen-like feel, mix a little fabric softener with water and mist it over the canvas before ironing. If you want a subtle pattern, use a stencil and fabric paint before upholstering.
Mounting And Styling
A French cleat gives you the most secure, flush mount. Attach one piece to the back of the headboard and the other to wall studs. For a renter-friendly option, use heavy-duty picture hangers rated for at least 50 pounds.
Style the headboard with neutral bedding, a couple of oversized pillows, and a chunky throw. The canvas backdrop makes any bedding look more expensive.
4. Layer Budget Bedding for a Luxe Look
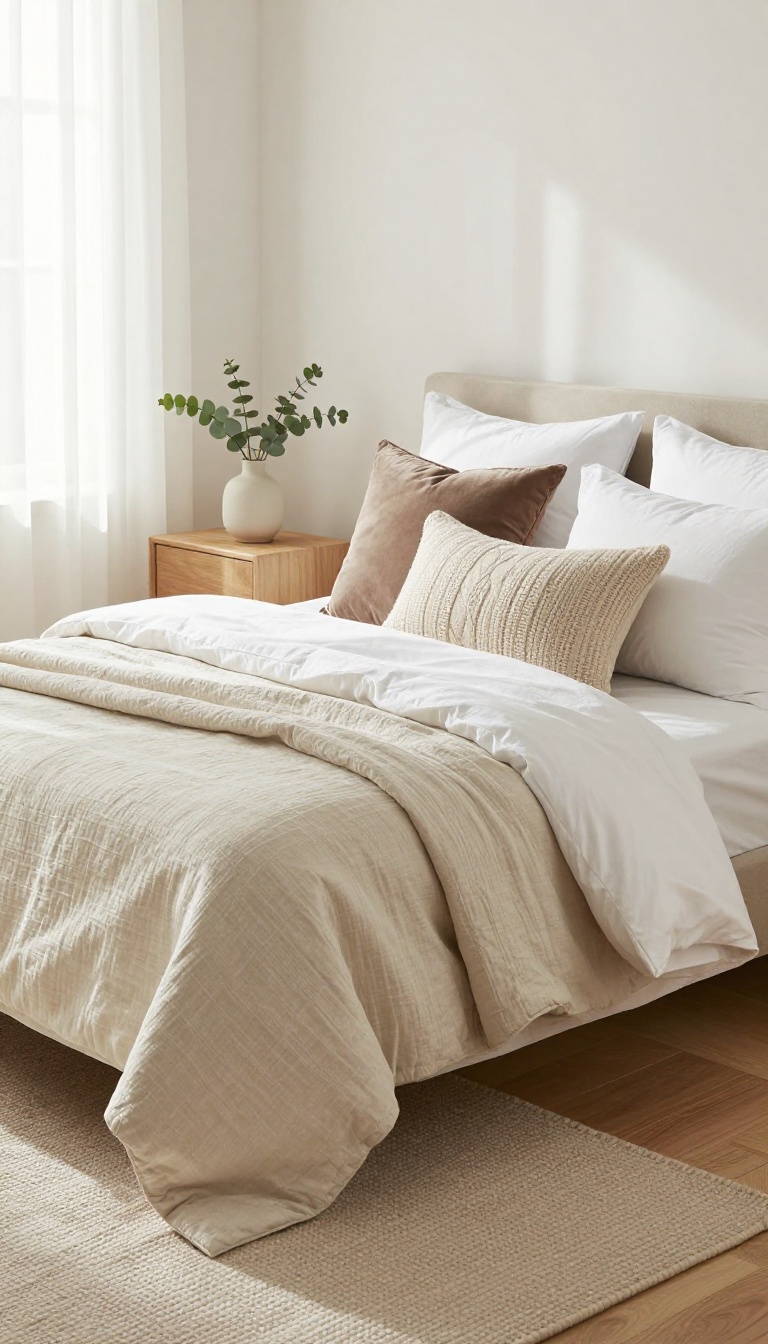
Pottery Barn beds always look like they belong in a magazine, but the secret isn't a $300 duvet cover. It's the layering. Mix affordable white sheets with a textured duvet cover and a quilt at the foot of the bed, and you get that same cozy, high-end vibe for way less.
The trick is to shop discount stores or wait for sales on individual pieces. You don't need a matching set. In fact, the mix is what makes it look expensive.
Start with a plain white sheet set from a big-box store or online retailer. You can find queen sets for under $30 if you catch a sale. White keeps things crisp and clean, and it makes the layers on top pop.
Next, add a textured duvet cover. Look for linen blends, washed cotton, or even a waffle weave. Pottery Barn charges a premium for that lived-in look, but you can find similar styles at stores like Target, Walmart, or IKEA for $40 to $60.
Check the clearance aisle too. Sometimes you'll score a returned item for half price. Finally, drape a quilt or coverlet across the foot of the bed.
This is where you can really save by thrifting. Vintage quilts often cost $10 to $20 at estate sales or Goodwill. If you can't find one you love, a simple solid-color quilt from a discount store works just fine.
Fold it neatly or let it hang loose for a relaxed feel. Don't forget the pillows. Two euro shams behind your regular pillows add height and drama.
You can make covers from inexpensive fabric or buy pre-made ones on sale. A couple of accent pillows in a contrasting texture—like velvet or chunky knit—finish the look without breaking the bank.
Start With A Crisp White Base
White sheets are the foundation of the Pottery Barn look. They brighten the bed and make everything else feel intentional. You don't need high-thread-count luxury.
A basic microfiber or cotton set from a discount store works perfectly. Just make sure they're clean and wrinkle-free. Iron the pillowcases if you want that extra polished touch.
Add Texture With A Duvet Cover
Texture is what separates a flat bed from a cozy one. Look for duvet covers with subtle patterns like stripes, dots, or a washed finish. Linen blends are ideal because they get softer with every wash.
If you're on a tight budget, try a duvet cover from IKEA or Amazon. Many come in under $50 and look way more expensive than they are.
Finish With A Quilt At The Foot
A quilt at the end of the bed adds color and warmth. Thrift stores are goldmines for vintage quilts. You can also find new ones at discount retailers for $20 to $40.
Fold it in thirds and lay it across the bottom. This simple step instantly makes your bed look styled, not just made.
5. Upcycle a Thrifted Dresser with Chalk Paint
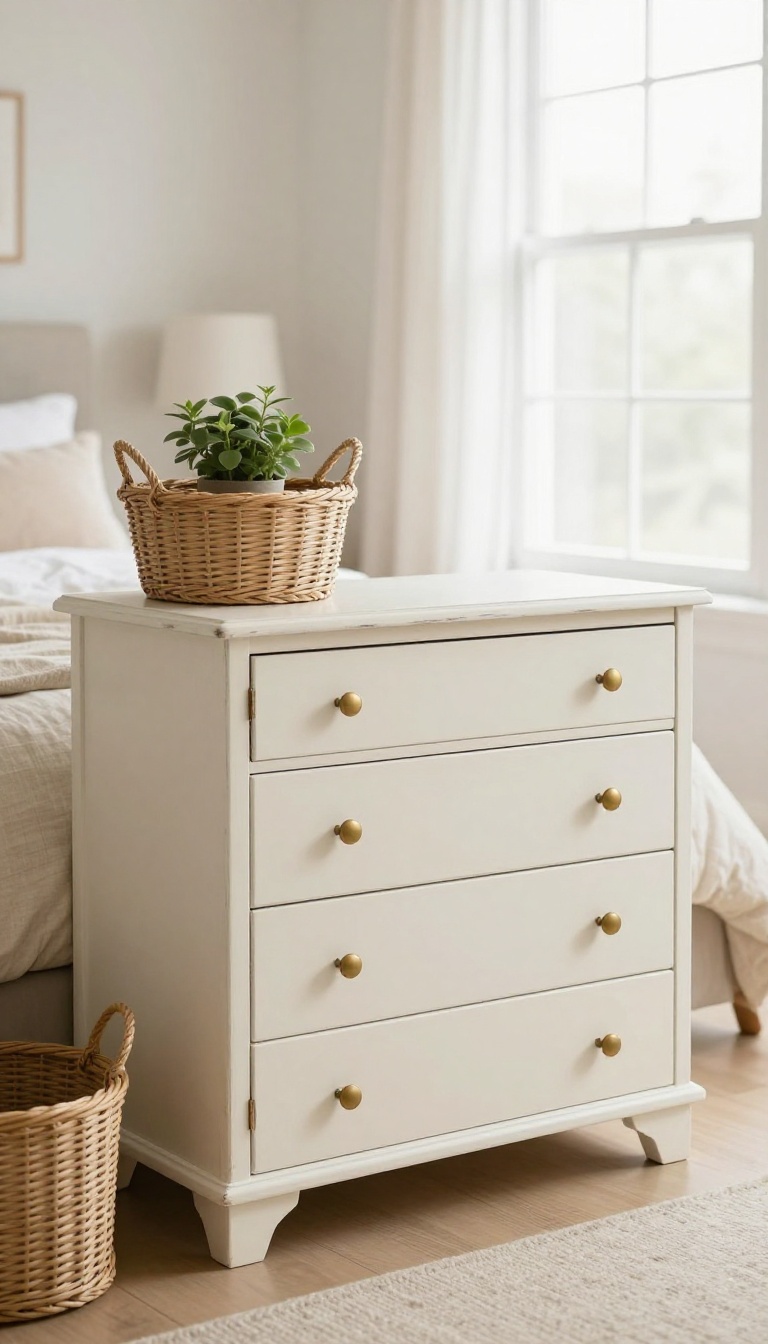
A solid wood dresser from a thrift store or Facebook Marketplace often costs less than $50, and it's the perfect blank canvas for a Pottery Barn–style makeover. The secret is chalk paint, which requires almost no prep and dries to a velvety, matte finish that looks straight out of a catalog. Add new hardware and a little distressing, and you've got a custom piece for a fraction of the retail price.
Pottery Barn dressers regularly sell for $800 or more, but their vintage-inspired finishes are easy to mimic. Chalk paint adheres to almost any surface without sanding or priming, so you can paint right over old varnish, scratches, or even peeling veneer. Choose a color like warm white, soft gray, or muted sage to stay in that neutral, farmhouse palette.
Once you've painted and sealed it, the dresser will look like a high-end find, not a thrift store castoff.
Pick The Right Piece
Look for a dresser with good bones: sturdy drawers, dovetail joints, and solid wood construction. Avoid particleboard or anything with major water damage. A classic shape—like a simple rectangle with clean lines—works best because it mimics Pottery Barn's understated silhouettes.
Measure your space first so you don't fall in love with something that won't fit. And don't worry about ugly hardware or a dated finish; those are easy to change.
Paint And Distress Like A Pro
Start by removing the drawers and hardware, then wipe the whole piece down with a damp cloth. Apply two thin coats of chalk paint, letting each dry completely. For a subtle vintage look, lightly sand the edges and corners by hand once the paint is dry—focus on spots that would naturally wear over time.
Wipe away the dust, then seal with a clear wax or matte polyurethane to protect the finish. The result is a soft, aged patina that feels collected, not brand new.
Swap The Hardware
New knobs and pulls are the easiest way to elevate a thrifted dresser. Pottery Barn often uses simple round knobs or bin pulls in antique brass, oil-rubbed bronze, or nickel. You can find affordable lookalikes at hardware stores or online for a few dollars each.
Just make sure the new hardware fits the existing holes—or be prepared to fill and drill new ones. This small change makes a huge difference in the final look.
6. Make Your Own Botanical Prints
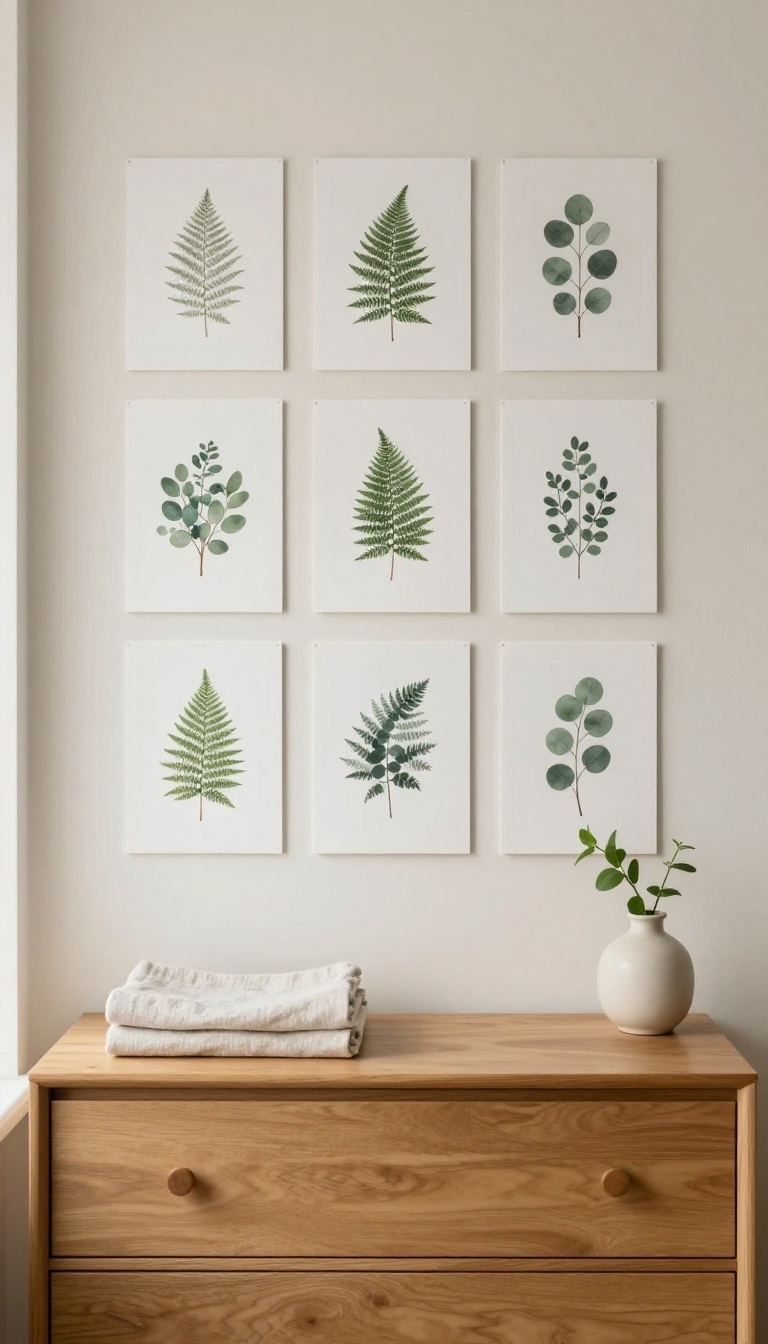
Botanical art is one of those quiet Pottery Barn staples that shows up in almost every catalog bedroom. Framed fern studies, vintage herb sketches, and soft green leaf prints hang in neat grids above beds and dressers, and they always look expensive. They're not.
Most of what you're paying for is the frame and the styling, not the artwork itself.
You can build the same look for under $20 with free printables and dollar store frames. The trick is sticking to a tight color palette and a consistent frame style so the group reads as one intentional collection instead of a random assortment.
Where To Find Free Botanical Printables
Search for "free botanical printables" on Pinterest or sites like The Graphics Fairy, Freepik, and Rawpixel. You'll find vintage fern, eucalyptus, olive branch, and wildflower illustrations in high resolution, ready to download. Stick to one or two plant types per grouping.
Mixing too many species looks busy, while repeating the same fern in different sizes feels calm and curated, just like the real thing. Print on matte cardstock instead of regular paper. The heavier weight keeps the prints from curling and gives them a subtle, gallery-like finish.
Frames That Look High-end For Less
Dollar store frames work fine here, especially the simple black, white, or natural wood styles. Skip anything with ornate detailing or shiny gold plastic, since those tend to look cheap up close. If you want a more custom feel, spray paint mismatched thrifted frames in one uniform color.
Satin black or warm white ties everything together and hides scuffs and dings. Add a mat if you can. Even a cheap pre-cut mat makes a small print look bigger and more polished, and it's the single easiest upgrade you can make.
How To Hang A Grid That Looks Intentional
Measure before you hammer anything. A 2×3 or 3×3 grid above a dresser or headboard reads best, with 2 to 3 inches between frames. Use painter's tape to map out the layout on the wall first.
Step back, adjust spacing, and only then commit to nails or adhesive strips. Keep the center of the grid at eye level, usually around 57 to 60 inches from the floor. That one rule keeps the whole arrangement from feeling top-heavy or floating.
7. Repurpose a Ladder as a Blanket Display
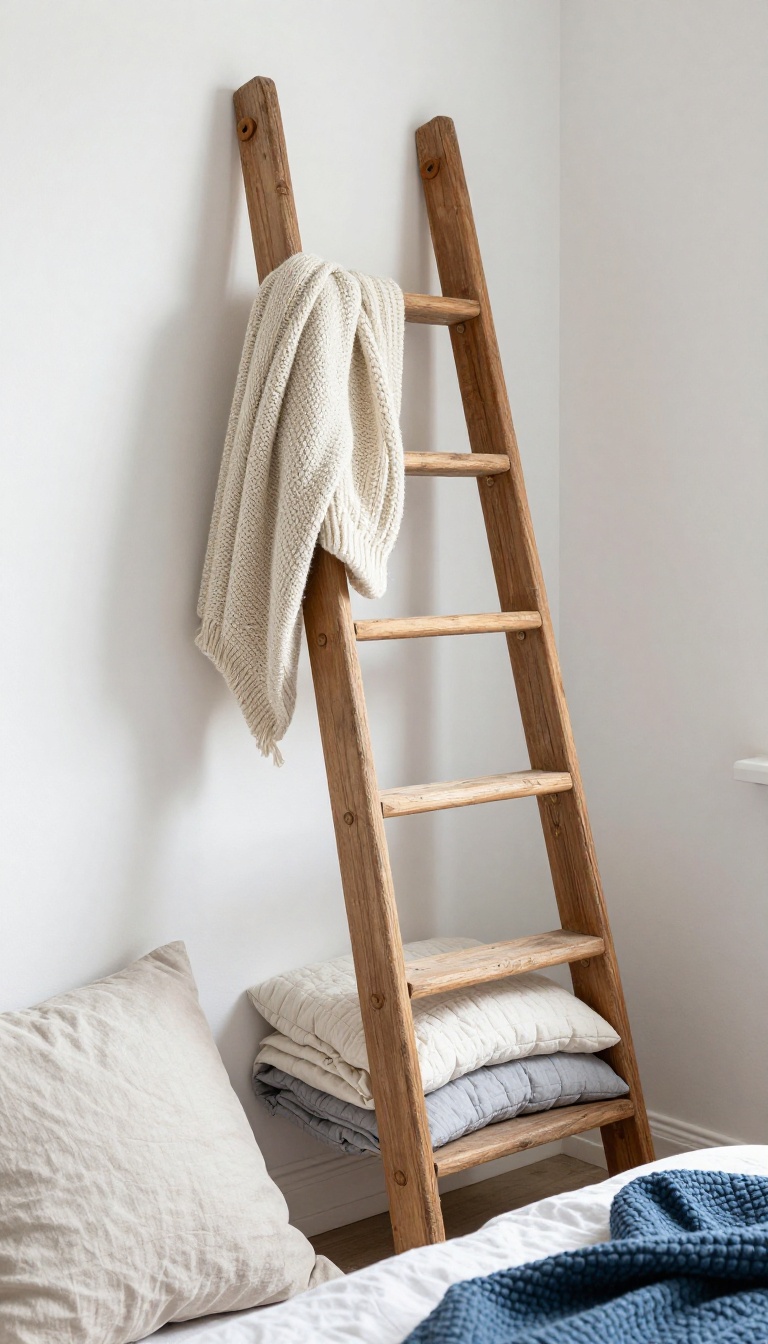
An old wooden ladder does more than hold tools. Lean it against a bedroom wall, drape a few quilts over the rungs, and you get that collected, cozy look Pottery Barn charges hundreds for. The best part?
You can find a ladder for $20 at a flea market or use one you already have in the garage.
Blanket ladders are a staple in Pottery Barn catalogs, but they're often priced around $150 or more. A vintage wooden ladder gives you the same vibe for a fraction of the cost. It adds vertical interest, keeps throws within reach, and makes a plain wall feel intentional.
Plus, it's a great way to show off quilts or blankets that might otherwise stay folded in a closet.
Where To Find An Affordable Ladder
Flea markets, estate sales, and Facebook Marketplace are goldmines for old wooden ladders. Look for one with a warm, worn finish—chipped paint or natural wood both work. If you can't find a vintage one, check thrift stores or even ask a neighbor.
You can also buy a new unfinished wood ladder online for under $40 and stain it yourself. Just make sure it's sturdy enough to hold the weight of a few blankets.
How To Style It Like Pottery Barn
Lean the ladder against the wall at a slight angle, preferably near a corner or beside the bed. Drape a chunky knit throw over one rung and a lighter quilt over another. Mix textures and colors that match your bedding—think creams, grays, and soft blues.
Don't overdo it; two or three blankets are plenty. Let the ends hang naturally for that relaxed, lived-in feel. If the ladder feels wobbly, secure it to the wall with a small bracket or a strip of velcro.
Diy Twists And Practical Tips
If your ladder looks too new, sand the edges and rub on a little dark wax to age it. You can also paint it a muted color like sage or navy to tie into your room's palette. For a more polished look, add a small basket on one of the rungs to hold extra throws or magazines.
Keep the ladder away from high-traffic areas so no one bumps it. And if you have pets or kids, consider anchoring it to the wall for safety.
8. DIY a Jute Rug from a Doormat
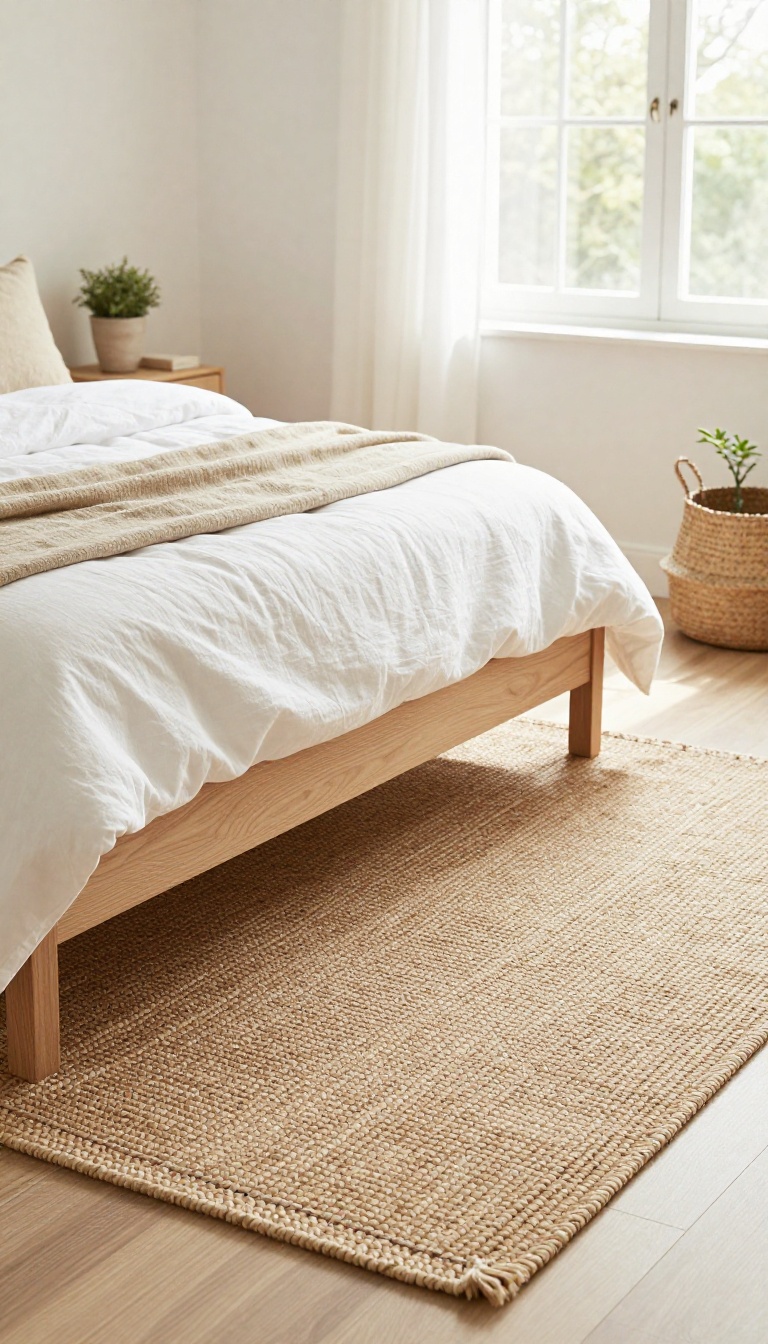
Jute rugs bring that earthy, organic vibe that makes Pottery Barn bedrooms feel so inviting. But a large one can easily run you $200 or more. Here's a clever workaround: sew together a few jute doormats to create a custom-sized rug for a fraction of the price.
It's a simple DIY that adds instant texture and warmth.
The secret is that most jute doormats are made from the same material as expensive jute rugs, just in a smaller size. By joining several together, you get the exact dimensions you need without the markup. Plus, you can customize the shape and size to fit your space perfectly.
What You'll Need
Gather 4–6 jute doormats (look for ones with a tight weave and similar color), a heavy-duty needle and strong thread (like upholstery thread or twine), and a pair of scissors. A thimble can save your fingers. You might also want a rug pad to keep it from slipping.
How To Assemble It
Lay the doormats out in your desired arrangement. Using a whipstitch, sew the edges together tightly, going over each stitch twice for durability. Work your way around the entire perimeter, then flip the rug over and sew the seams again from the other side for extra strength.
Trim any loose fibers.
Styling And Care
Place your new rug at the foot of the bed or under a reading chair. The natural jute color blends with any neutral palette. To clean, shake it out regularly and vacuum on a low setting.
Spot clean with a damp cloth and mild soap, and rotate it occasionally to even out wear.
9. Create a Cozy Reading Nook with a Slipcovered Chair
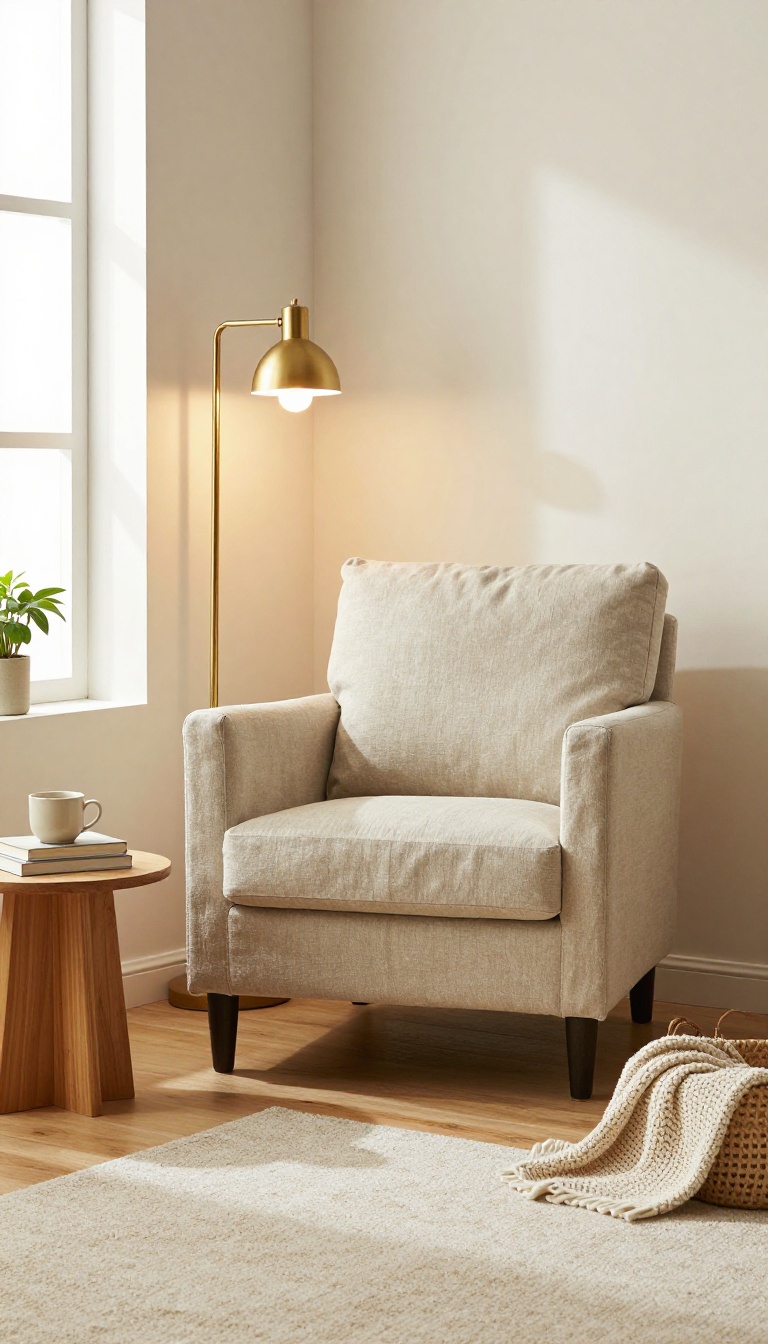
Every Pottery Barn bedroom needs a spot to curl up with a book and a cup of tea. A slipcovered armchair is the perfect anchor for that corner, and you can recreate the look without dropping $1, 000 on a designer version. Start with a thrifted or budget-friendly chair, then dress it up with a ready-made slipcover in a neutral fabric like linen or cotton.
Add a small side table and a floor lamp, and you've got a cozy nook that feels straight out of the catalog.
The slipcover is what sells the Pottery Barn look. It's relaxed, washable, and hides whatever condition the chair underneath is in. You don't need a perfect chair—you need a decent frame and a cover that fits well.
Look for a slipcover with a relaxed fit, not one that's stretched tight like a hotel banquet chair. The slightly rumpled, lived-in vibe is exactly what you want.
Find A Chair With Good Bones
Hit thrift stores, estate sales, or Facebook Marketplace for an armchair with a solid frame. Skip anything with major structural damage or weird proportions. A classic club chair or a simple barrel chair works best because slipcovers are easy to find in those shapes.
You can also use a chair you already own—just make sure the arms and back are in decent shape. If the cushions are flat, replace the foam inserts with new ones from a craft store. That alone can make a $20 chair feel brand new.
Choose A Slipcover That Looks High-end
Stick to neutral colors: oatmeal, warm white, light gray, or soft beige. Textured fabrics like linen, cotton canvas, or a linen blend read as expensive even when they're not. Avoid shiny polyester or anything with a busy pattern—those tend to look cheap fast.
Measure your chair before you buy, and check the return policy just in case. A well-fitted slipcover in a good fabric is the single biggest upgrade you can make. If you're handy with a sewing machine, you can even make your own from drop cloths or inexpensive linen yardage.
Add A Side Table And Floor Lamp
A small round or square side table gives you a place for a mug, a candle, and a stack of books. Thrift stores are full of solid wood tables that just need a quick sanding and a coat of paint or stain. For the lamp, a simple floor lamp with a linen drum shade creates soft, warm light.
Look for one with a three-way switch so you can adjust the mood. Place the lamp behind or beside the chair, and angle the shade slightly downward for reading. A small woven basket next to the table can hold extra throws or magazines.
Style It Like Pottery Barn
Layer in a cozy throw blanket over one arm of the chair. Add a lumbar pillow in a complementary neutral or a subtle stripe. A small potted plant or a ceramic vase on the side table brings in that organic touch.
Keep the area uncluttered—the goal is calm and inviting, not busy. If you have wall space, hang a simple framed print or a small mirror above the table. A candle or a diffuser adds a nice sensory detail.
The whole setup should feel like an invitation to sit down and stay a while.
10. Make a Faux Fur Stool from a Thrifted Base
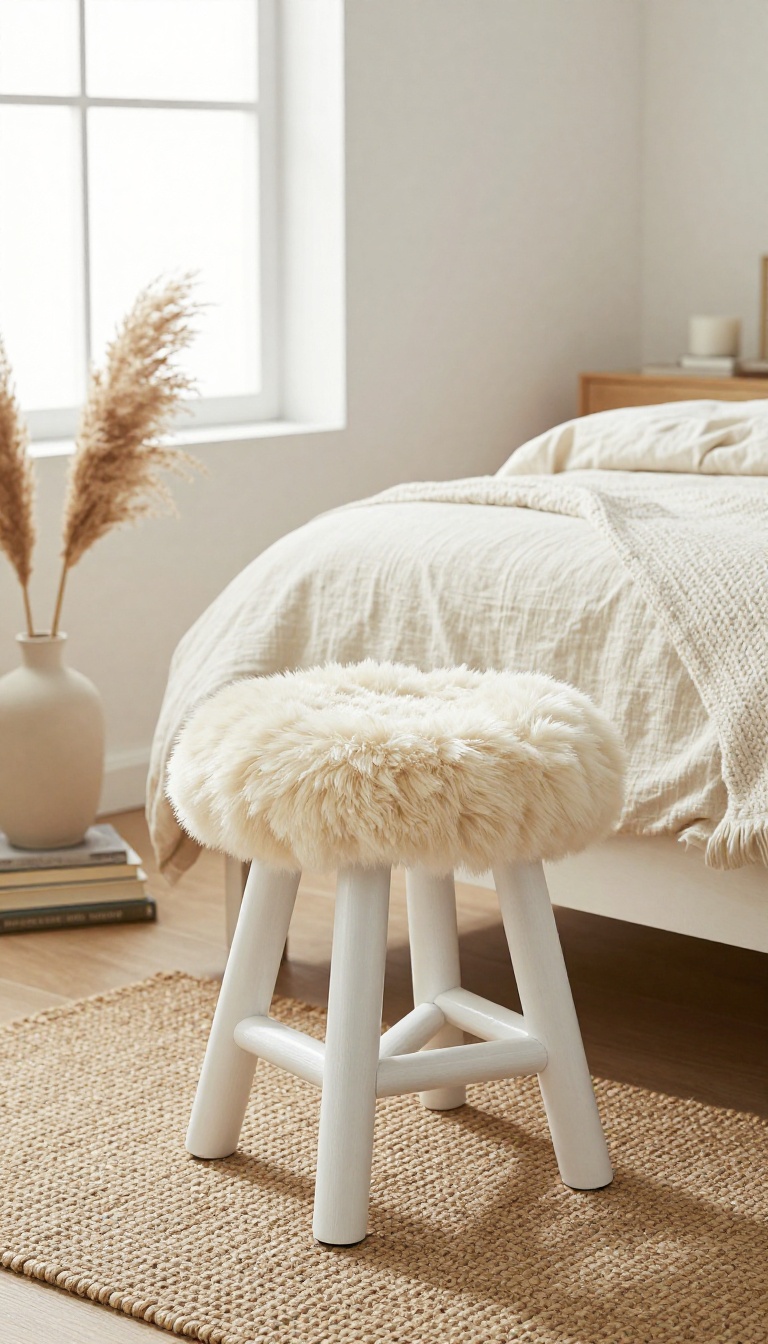
A small stool might not seem like a big deal, but it's one of those pieces that quietly pulls a room together. Pottery Barn sells faux fur stools for $150 or more, but you can make your own for under $30 with a thrifted base and a little fabric. It's an easy weekend project that adds instant glam and texture, perfect as a vanity seat or extra seating when friends drop by.
Start by finding a sturdy stool at a thrift store, garage sale, or even curbside. Look for a solid wood or metal base with good bones—don't worry about the finish or the existing upholstery. A simple round or square top works best.
You can often snag one for $5 to $15. If the legs are wobbly, tighten the screws or add wood glue. A quick sanding and a coat of paint in a neutral shade like white, black, or warm gray will give it that Pottery Barn look.
While the paint dries, turn your attention to the fabric.
Choosing The Right Faux Fur
Not all faux fur is created equal. You want something that feels soft and looks luxurious, not like a cheap Halloween costume. Check your local fabric store or order online—a half-yard is usually plenty for a stool top.
Look for a medium-pile fur with a subtle sheen. Ivory, cream, or soft gray are the most versatile choices. If you can't find faux fur you love, a faux sheepskin rug from IKEA or Amazon works beautifully.
Just cut it to size, leaving a couple of inches of overhang.
Attaching The Fabric
Once your base is ready, it's time to upholster. If your stool has a removable cushion, great—just wrap the fabric around it and staple it underneath. If not, you can attach the fabric directly to the seat.
Use a staple gun to secure the fabric, pulling it taut as you go. Start with one side, then the opposite, then the remaining sides, folding the corners neatly like you're wrapping a gift. Trim any excess fabric.
For a cleaner look, add a layer of batting underneath the fur for extra plushness. A staple gun and a pair of scissors are all you need.
Finishing Touches
Give the legs a final coat of paint if needed, and let everything dry completely. If you want a more high-end look, add a decorative trim or nailhead tape around the edge of the seat. You can find nailhead trim at craft stores or online for a few dollars.
It's an easy way to make the stool look custom. Let the stool sit for a day before using it to make sure the adhesive or paint is fully set. Then place it in your bedroom as a vanity seat or a stylish spot for a throw blanket.
11. Use Baskets for Stylish Storage
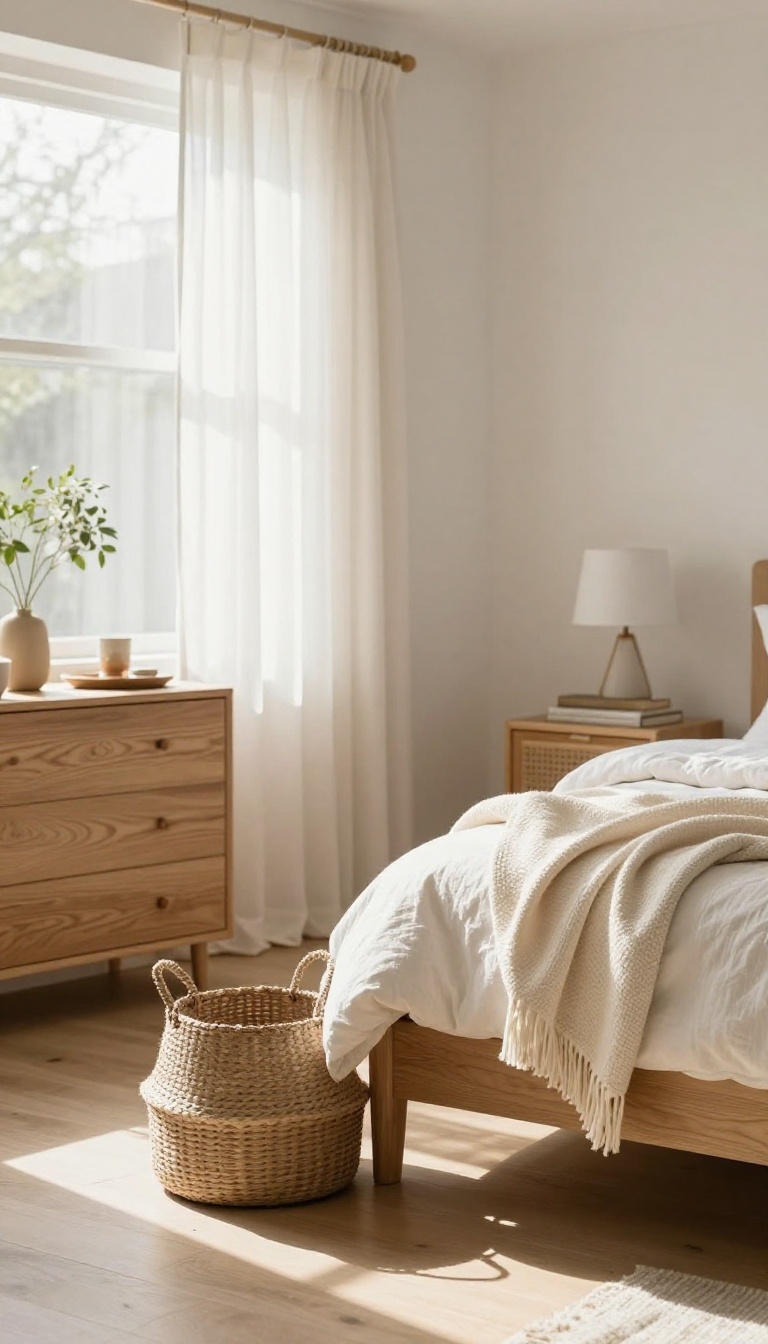
Baskets are the unsung heroes of a Pottery Barn bedroom. They hide clutter, add texture, and cost next to nothing if you know where to look. Thrift stores and discount retailers are goldmines for woven baskets in every shape and size.
Grab a few and watch your room instantly feel more pulled together.
Pottery Barn loves a good basket. You'll see them stacked by the bed, tucked under nightstands, and holding everything from extra blankets to magazines. The best part?
You can recreate that look for a fraction of the price. Start by collecting baskets in different sizes and natural materials like seagrass, jute, or wicker. Mixing textures keeps things interesting without feeling cluttered.
Place a large basket next to your bed for throws, a medium one on your dresser for jewelry, and a small one on your nightstand for books. They're functional, beautiful, and totally budget-friendly.
Where To Find Affordable Baskets
Thrift stores are your best bet. Check the home goods section for woven baskets that just need a little love. Discount stores like TJ Maxx, HomeGoods, and even Dollar Tree often carry stylish options.
Don't overlook garage sales and Facebook Marketplace either. A quick wipe-down or a coat of spray paint can make an old basket look brand new.
How To Style Baskets Like Pottery Barn
Group baskets in odd numbers for a designer look. Stack two or three nesting baskets next to a chair or bench. Use a basket as a catch-all on your nightstand for remotes, glasses, and lotion.
Line a shelf with matching baskets to hide clutter and add warmth. The key is to keep it practical—if it doesn't serve a purpose, it's just taking up space.
Diy Basket Makeover Ideas
Give plain baskets a high-end upgrade with a little creativity. Wrap handles with leather cord or twine for a custom touch. Paint a simple stripe or dip-dye the bottom for a modern twist.
Add a fabric liner using an old pillowcase or linen remnant. These small tweaks make budget baskets look like they came straight from the catalog.
12. DIY a Wood Bead Chandelier
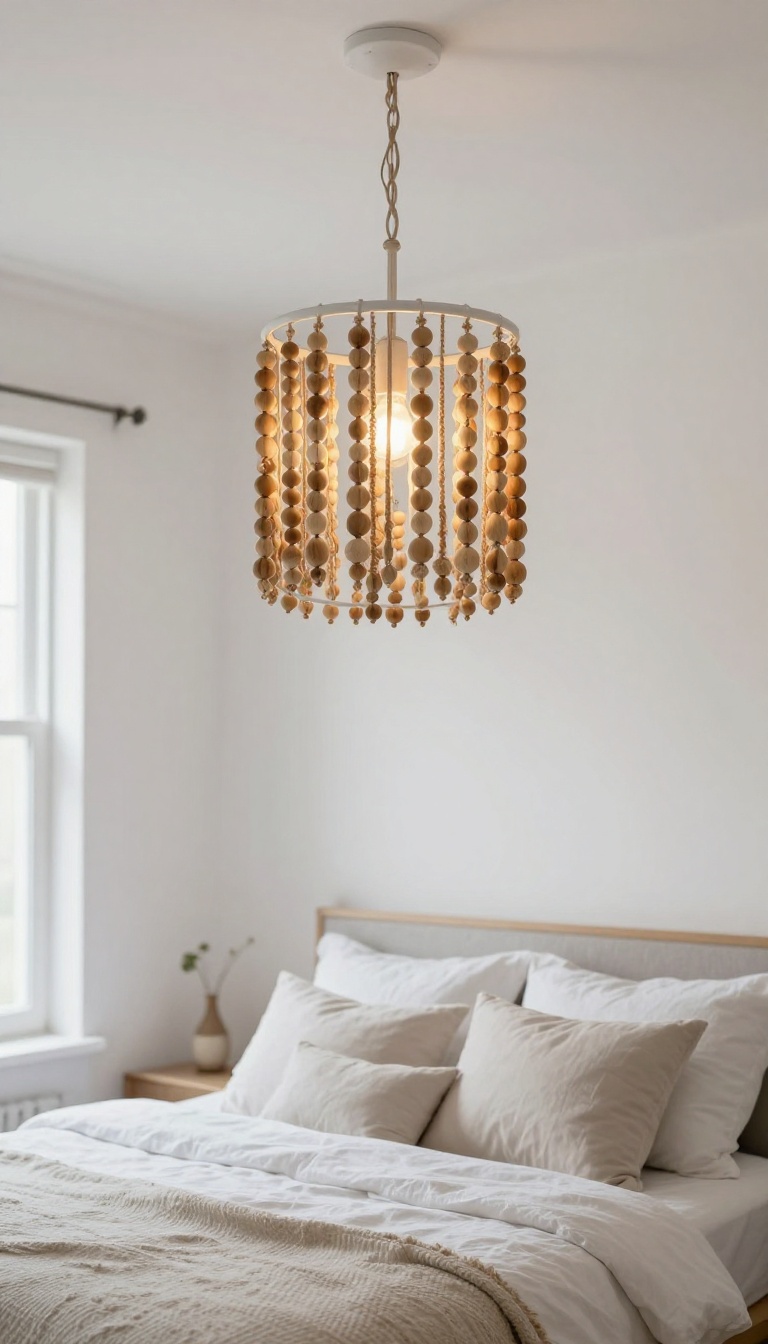
Pottery Barn's wood bead chandeliers are a staple in their bedroom displays, but they often cost a few hundred dollars. You can recreate the same boho-chic statement for under $30 with a few simple materials. It's a weekend project that adds instant warmth and texture to any bedroom.
The secret is using a wire frame as your base and stringing large wood beads in a pattern that mimics the high-end version. You'll need a wire hanging basket or an old lamp shade frame, a spool of sturdy wire or fishing line, and a bag of wood beads in mixed sizes. Start by spray-painting the frame a neutral color like matte white or gold to blend with the beads.
Then, attach the beads in vertical strands, alternating sizes for visual interest. Hang it from the ceiling with a pendant light kit, and you've got a designer look for pennies.
Materials You'll Need
Gather a wire frame (thrift stores often have old lamp shades), wood beads (1-2 inch diameter work best), jute twine or thin wire, and a pendant light cord kit. A hot glue gun helps secure beads in place. Total cost: about $25 if you shop sales.
Step-by-step Assembly
First, remove any fabric from the frame and spray-paint it. Next, cut lengths of twine or wire about twice the height of your frame. Tie one end to the top ring, then thread beads on, alternating sizes.
Secure the bottom bead with a knot or glue. Repeat around the frame, spacing strands evenly. Finally, attach the pendant kit and hang.
Styling Tips
Hang your chandelier centered over the bed or in a reading nook. Use a warm LED bulb to cast a cozy glow. If you want a more organic look, mix in a few painted beads or add a small tassel at the bottom of each strand.
13. Add Warmth with Inexpensive Curtains
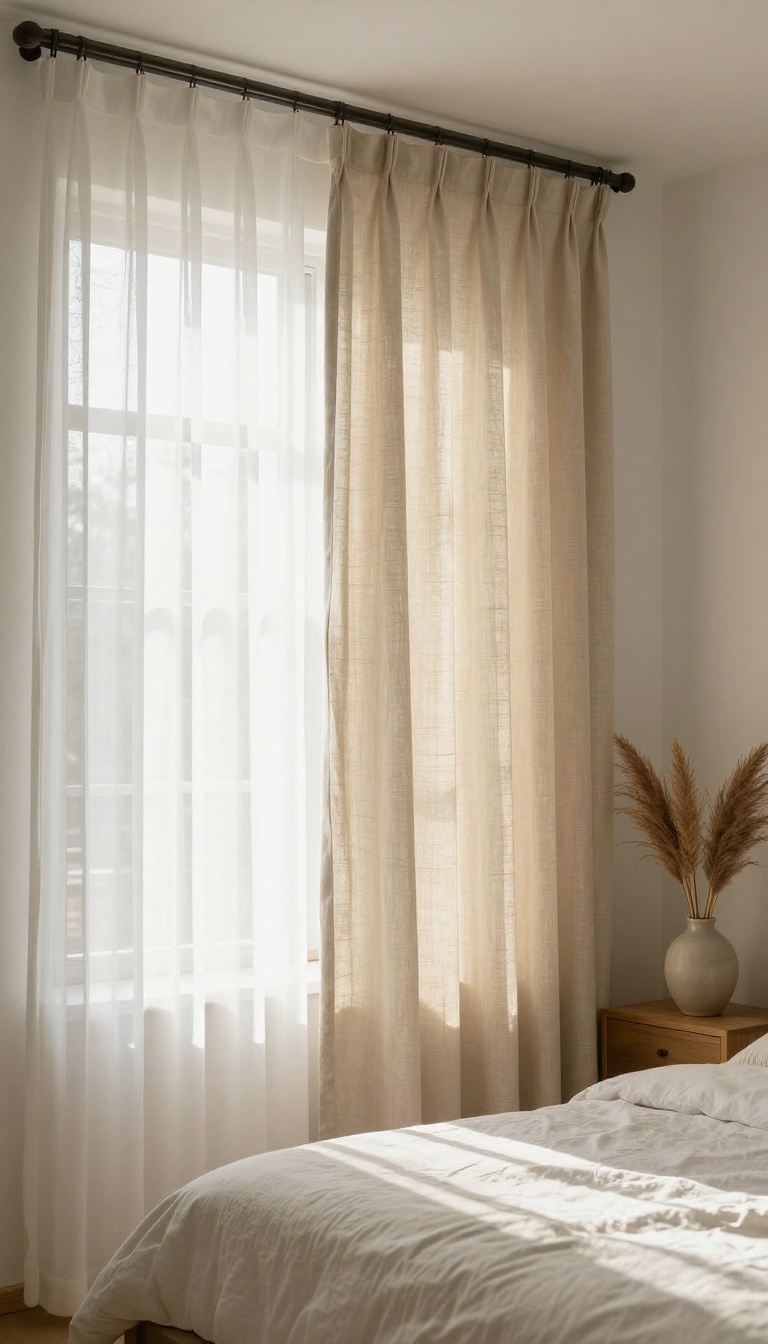
Curtains are one of those things you don't notice until they're missing. A bare window makes even a well-styled bedroom feel cold and unfinished. Pottery Barn knows this, which is why their displays almost always feature layered window treatments that soften the light and add texture.
But you don't need custom drapes to get that look. A simple combination of sheers and a heavier panel can do the trick for way less.
The key is layering. Start with a sheer white curtain closest to the glass. It diffuses light and adds a soft, airy feel.
Then hang a heavier neutral panel on a second rod or use double rod hardware. This creates depth and makes the window look more expensive than it actually is. You can find affordable sheer curtains at big-box stores or online for under $20.
For the outer panel, look for linen or cotton blends in oatmeal, beige, or soft gray. Thrift stores often have curtain panels for a few dollars, and you can always dye them or hem them to fit your space.
Sheers First, Always
Sheer curtains are the secret weapon here. They let in light while still giving you privacy. Hang them as close to the ceiling as possible to make the room feel taller.
A basic tension rod works if you don't want to drill into the wall, but a simple curtain rod with brackets is sturdier and still cheap. Look for sheers with a pocket top or grommets—they're easy to slide on and off.
The Outer Panel Matters
The heavier panel is what gives the window that Pottery Barn weight. You want something with a bit of texture, like linen or a linen blend. Don't worry about perfect length—if they're too long, just hem them with iron-on tape.
If they're too short, you can add a fabric trim at the bottom. Thrifted panels are hit or miss, but when you find a pair in a neutral color, grab them. You can always slipcover them or use them as-is if the color works.
Hardware Hacks That Save
You don't need fancy curtain rods. A basic white or black rod from a discount store costs around $10. If you want a more custom look, spray paint a cheap rod in a metallic finish like brass or nickel.
For a double-rod effect without the cost, hang two separate rods—one for sheers and one for panels. Just make sure they're close together so it looks intentional. Tension rods are great for renters, but they can slip.
A little double-sided tape on the ends helps them stay put.
14. Style Open Shelves with Thrifted Finds
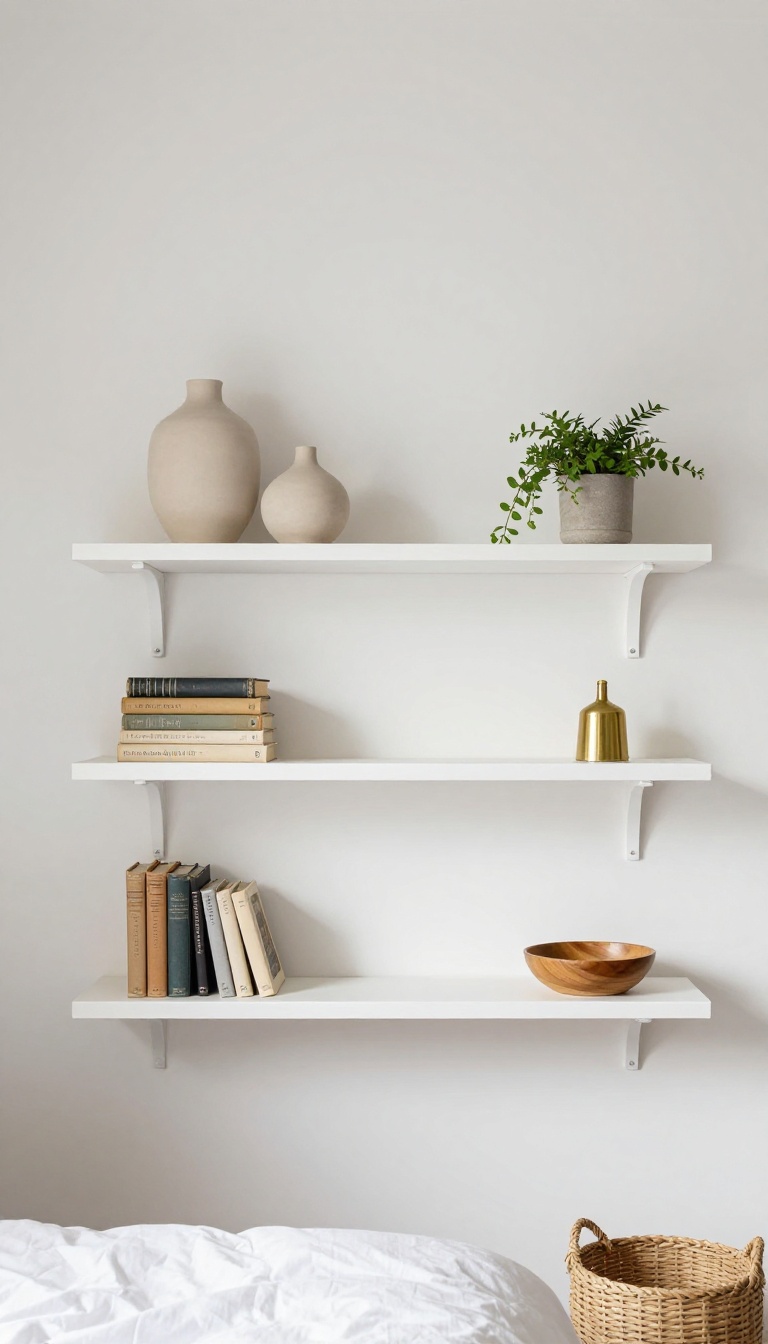
Open shelves give you a chance to show off without spending much. Pottery Barn often styles theirs with vintage books, small plants, and ceramic vases. You can recreate that look using thrifted treasures and a few simple floating shelves.
The key is to mix textures and heights, then arrange items in odd numbers for a balanced but collected feel. Start with a clean slate and build slowly, adding pieces until it feels just right.
Hang Simple Floating Shelves
You don't need fancy brackets. Basic floating shelves from a home improvement store cost a fraction of Pottery Barn's versions. Install them at eye level or slightly above, spacing them 12 to 15 inches apart.
A level and a drill are all you need. If you're renting, use removable adhesive shelves or ask your landlord first.
Shop Thrift Stores For Character
Thrift stores are goldmines for small decor. Look for vintage hardcover books with faded spines, ceramic vases in neutral tones, and small brass or wooden objects. Don't worry about matching sets—eclectic is the goal.
Check the housewares and book sections first. A quick wipe-down is usually all they need.
Arrange In Odd Numbers
Group items in threes or fives for a natural look. Vary heights: a tall vase, a stack of books, and a small plant. Place the tallest item slightly off-center.
Leave some empty space so the shelves don't feel cluttered. Step back and adjust until it feels balanced.
15. Create a Gallery Wall with Free Printables
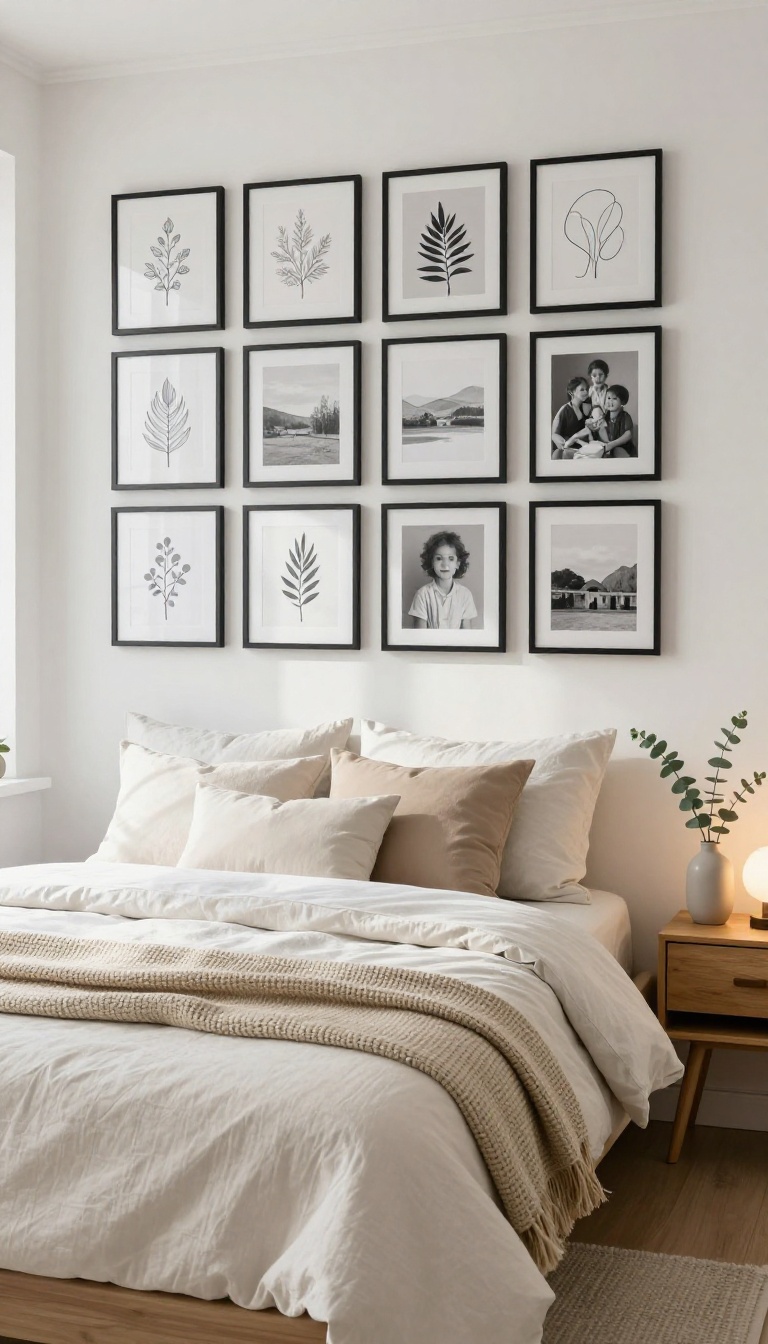
Art is where budget bedrooms usually fall apart. Blank walls make even nice furniture look unfinished, and buying a dozen framed prints at retail prices adds up fast. Free printables solve that problem without making the room look cheap.
The trick is treating the whole wall like one piece instead of a random collection. Mix downloadable art with family photos, unify the frames, and the result reads as intentional rather than thrifty.
Start by picking a wall you actually see from the bed. That's the one worth the effort, whether it's above the headboard, beside a dresser, or on the wall you face when you wake up. Measure the space and sketch a rough layout on paper before you hang anything.
Free printables live everywhere online, from botanical sketches to abstract line art to vintage landscapes. Search terms like "free printable wall art" plus a style word, and you'll have more options than wall space. Print them at home on matte cardstock, or send them to a local print shop for a few dollars each.
Family photos belong in the mix too. Black-and-white copies blend better with printable art than full-color snapshots, and most phones convert them in seconds. Print them the same size as your art so the grid stays even.
Unify The Frames
Mismatched frames are what make budget gallery walls look budget. Grab a stack of identical frames from a dollar store, thrift shop, or discount retailer, then paint them all the same color. Matte black, warm white, or a soft natural wood tone all work with a Pottery Barn palette.
Spray paint gives the smoothest finish and covers fast. Light sanding first helps the paint stick, especially on shiny or plastic frames. Let them dry fully before you load them up, or you'll smudge the corners.
If you can't find enough matching frames, buy two sizes and alternate them in a clean pattern. Consistency matters more than variety here.
Arrange Before You Hammer
Lay the whole arrangement on the floor first. Move pieces around until the spacing feels even, usually two to three inches between frames. A tight grid looks polished; a loose, organic cluster feels more relaxed.
Trace each frame onto kraft paper, cut out the shapes, and tape them to the wall. This lets you step back and adjust without making holes. Once you're happy, nail through the paper and tear it away.
Hang the center piece first, then work outward. Keep the middle of the gallery at eye level, roughly 57 to 60 inches from the floor.
Style It Like Pottery Barn
Lean one or two larger frames on a dresser or shelf instead of hanging everything. That layered look is very Pottery Barn and costs nothing extra. Add a small vase, a candle, or a stack of books nearby to tie it in.
Swap art seasonally by reprinting new printables and reusing the same frames. It keeps the wall fresh for the price of paper and ink. Skip glass on a few frames if you want a softer, more casual feel.
The art still looks intentional, just less formal.
FAQ
What is the easiest way to make my bedroom look like Pottery Barn on a budget?
Focus on texture and lighting. Add a chunky knit throw, layer your bedding, and use warm light bulbs. Thrifted wood furniture and DIY art also help.
Where can I find affordable Pottery Barn-style furniture?
Check Facebook Marketplace, thrift stores, and estate sales for solid wood pieces. You can also look at discount retailers like HomeGoods or Wayfair for similar styles.
How can I make my bedding look expensive without spending a lot?
Layer white sheets with a textured duvet and a quilt. Add a couple of decorative pillows and a throw blanket. Shop sales or use coupons at stores like Target or Walmart.
What are some DIY Pottery Barn decor ideas?
Try making a drop cloth headboard, a wood bead chandelier, or a jute rug from doormats. Free printables for art and painted thrift finds also work well.
How do I style a small bedroom to look like Pottery Barn?
Use light colors, hang curtains high, and choose furniture with legs to make the room feel bigger. Keep clutter hidden in baskets and use a mirror to reflect light.
Conclusion
You don't need a big budget to get that relaxed, layered Pottery Barn feel. Pick one or two ideas here, swap in affordable bedding, thrifted wood, and warm lighting, and watch the room change. Small moves add up fast.
Start with what bothers you most, then build outward as you find deals. Your bedroom can look expensive without costing much, and it'll feel more like you because you made it happen.